Introduction
This is a series of 7 days where we will learn how to use the OpenCV library as beginners, through simple examples and step by step we will learn to use OpenCV with Python.
Everyone’s know how deep impact is this technology in modern society and how it is changing the life of people.
First of all we need to know what is OpenCV
What is OpenCV
OpenCV is an open source computer vision and machine learning software library. OpenCV was built to provide a common infrastructure for computer vision applications and to accelerate the use of machine perception in the commercial products.
The library has more than 2500 optimized algorithms, which includes a comprehensive set of both classic and state-of-the-art computer vision and machine learning algorithms. These algorithms can be used to detect and recognize faces, identify objects, classify human actions in videos, track camera movements, track moving objects, extract 3D models of objects, produce 3D point clouds from stereo cameras, stitch images together to produce a high resolution image of an entire scene, find similar images from an image database, remove red eyes from images taken using flash, follow eye movements, recognize scenery and establish markers to overlay it with augmented reality, etc.
What do you need
Prerequisites:
- OpenCV library installed
- Python installed
- Any Text Editor is ok, if you are familiarise with a Code Editor fantastic!.
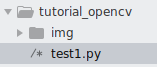
Folder Structure
- Create a folder to store the code files, e.g /opencv_tutorial, where the file code will be stored
- Create a sub-folder inside the previous folder to store the images e.g /img
How to Install OpenCV
There are several ways to install this library depends of OS, please take a look the links bellow:
- Linux : https://docs.opencv.org/3.4/d7/d9f/tutorial_linux_install.html
- Windows : https://docs.opencv.org/4.x/d3/d52/tutorial_windows_install.html
How to Install Python
- Linux: https://docs.python-guide.org/starting/install3/linux/
- Windows: https://www.python.org/downloads/windows/
If you have any issues to install it on your environment please drop me an email, I’ll happy to help.
Once the library is installed we are ready to use it, on this tutorial we will use Python as programming code for the examples.
Example 1 : Read and Show and Image
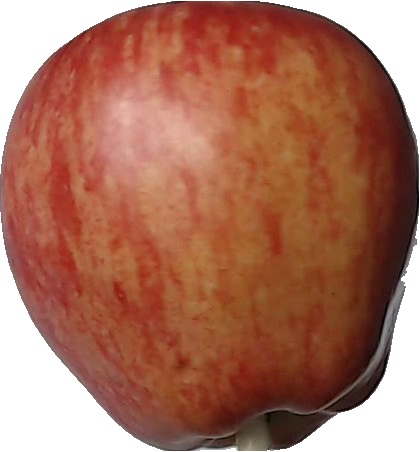
For this example we will use the image below, download and place it on the corresponding folder:
Objective : With this example we will learn how start with the CV library and how to load an image.
Open the Text Editor and write the code below line per line
Step 1: Import the CV library, by the line below then we can use all the algorithms and functions available. It imports the module to your current program. You can use the functions inside a module by using a dot ( . ) operator along with the module name.
import cv2
Step 2: Create a variable to store the path of the image to load. Python variables are simply containers for storing data values. Unlike other languages, such as Java, Python has no command for declaring a variable, so you create one the moment you first assign a value to it.
img_path = ‘img/r0_0.jpg’
Step 3: To read an image in OpenCV, we use the imread() function. This function loads an image from the specified file path and returns it as a NumPy array, allowing further processing or analysis.
Create a variable to load the image, the parameter should be the variable that have the path of the image
img_original = cv2.imread(img_path)
Step 4: Show the image loaded by the function imshow(). The cv2. imshow() method takes two parameters: the name of the window and the image to be displayed. The Method first checks if a window with a specified name already exists; if it doesn’t exist, it will create a new window of that size, and an image will be displayed
cv2.imshow(‘Imagen’, img_original)
Step 5: Keep the image loaded on the window until any key pressed by the method waitkey() , this is a function of Python OpenCV that allows users to display a window for given milliseconds or until any key is pressed.
cv2.waitKey(0)
Step 6: Close the Window by the method destroyAllWindows(). This method simply destroys all the windows we created. To destroy any specific window, use the function cv2. destroyWindow() where you pass the exact window name.
cv2.destroyAllWindows()
The final code should be like this, remember include comments, keep it as good habit for next examples of this serie
#Import the library cv2
import cv2

#Create the path variable
img_path = 'img/r0_0.jpg'

#Create a variable to load the original image
img_original = cv2.imread(img_path)

#Create a variable to show the image on a window named 'Red Apple Original Color'
cv2.imshow('Red Apple Original Color', img_original)

#Wait until press any Key
cv2.waitKey(0)

#Destroy all Windows opened
cv2.destroyAllWindows()
Step 7: Open a command line window and open the folder where is your code, the run the command
$> python test1.py
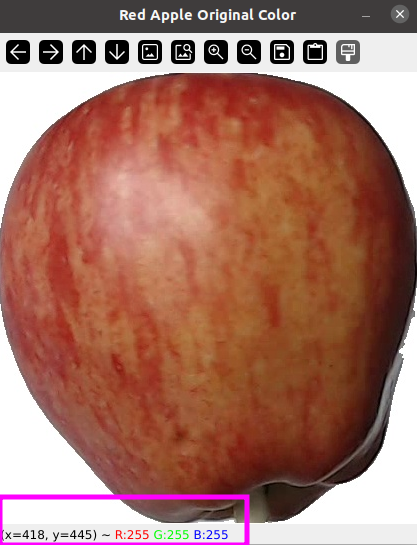
The result should be like this, the window should be opened until press any key
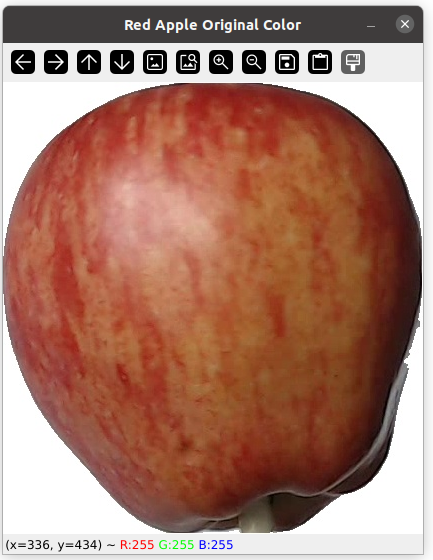
As you can see on the window, if you move the cursor over the image you will get the coordinates and the corresponding RGB values for that pixel.
Using flag on load Image
The syntax of cv2.imread() function is
cv2.imread(filename, flag)
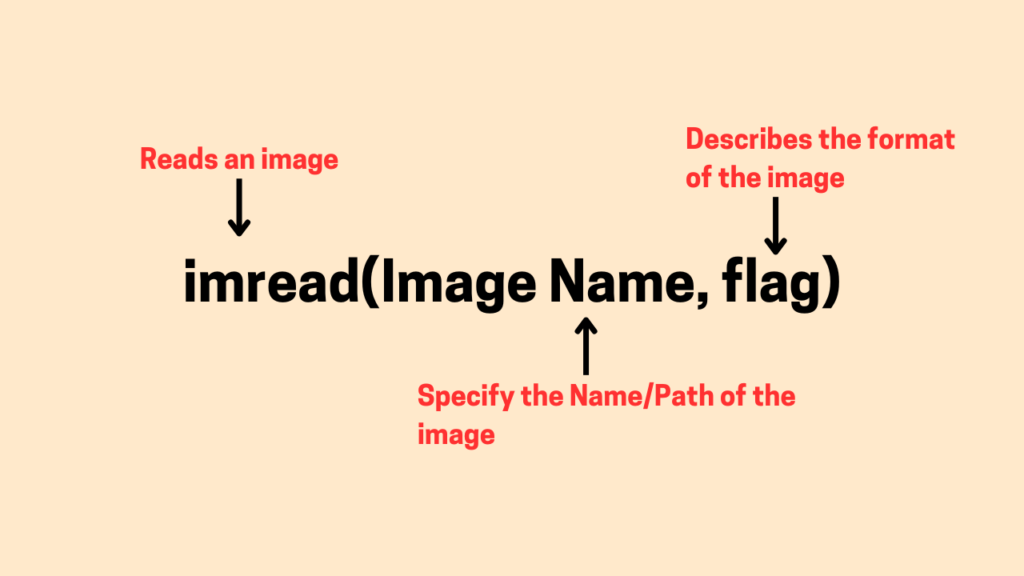
Where the parameters are:
- filename: specifies the path to the image file, as we seen on the example above.
- flag: specifies the way how the image should be read which can be :
- cv2.IMREAD_COLOR – It specifies to load a color image. Any transparency of image will be neglected. It is the default flag. Alternatively we can pass integer value 1 for this flag.
- cv2.IMREAD_GRAYSCALE – It specifies to load an image in grayscale mode. Alternatively we can pass integer value 0 for this flag.
- cv2.IMREAD_UNCHANGED – It specifies to load an image such as including alpha channel. Alternatively we can pass integer value -1 for this flag.
If we don’t send any flag, the image will be load with original color. In the follow example we will open the same image in 2 windows with original and gray color.
Add the lines below on the previous file:
Step 8: Create a variable for th Image on Grayscale just under the variable img_original
img_gray = cv2.imread(img_path, cv2.IMREAD_GRAYSCALE)
Step 9: Open the image loaded in a new window
cv2.imshow(‘Red Apple Gray Color’, img_gray)
Save the file and run it, the result should be like this:

Important : Remember to add some comments for the new lines added
Conclusion
As you can see, load an image and show it on a window is the first step that we need to learn, this is just the beginning of our journey with OpenCV , I hope it help you, see you on the next post
Comments are closed