How to access and modify pixels
Accessing and modifying image pixels is necessary for a variety of tasks, including image enhancement, feature extraction, and computer vision applications. By manipulating individual pixel values, we can adjust brightness, contrast, colors, and even create special effects. This low-level image manipulation is fundamental to tasks like image editing, object recognition, and image analysis.
On this post we will learn how to manipulate pixels of an image loaded, but first of all we will verify that the image exist, to do that we can use the method exists() of the os.path module.
Step 1: import the module os as below:.
Step 2: create the variable with the path of the image

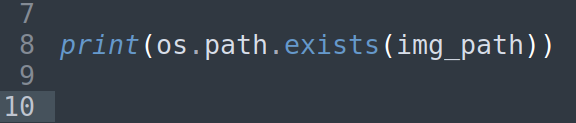
Step 3: Verify if the image exist on the path by the method os.path.exists(path), it will return true or false
Save and run the script, it should return true due that the image exist on the path

but if you change the name of the image, just for testing , it should print false
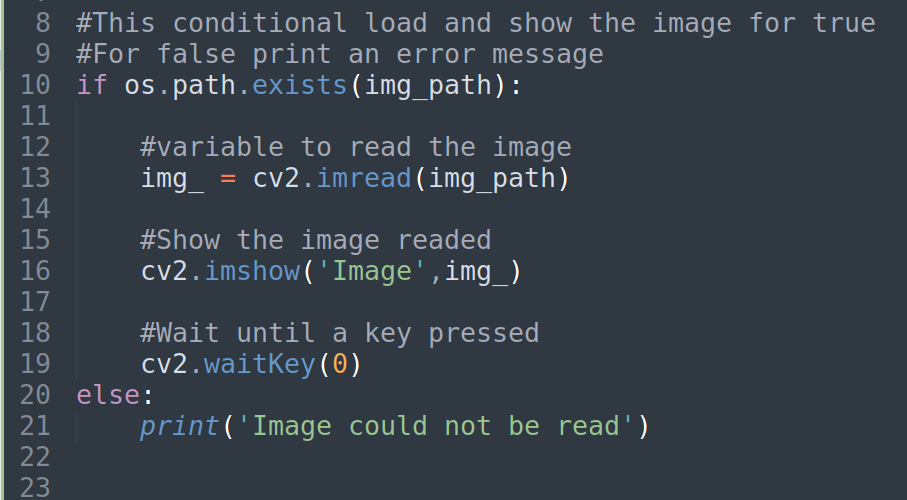
Step 4: use the conditional if to load and show the image for true and print an error message for false
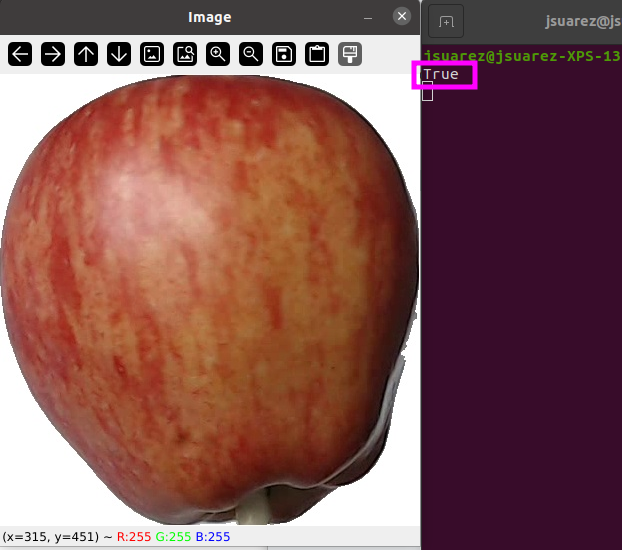
Save and run the script, the result should be like this:
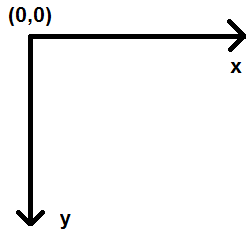
As we know for previous posts an image is an array of pixels and every pixel have a position (y,x). In OpenCV, when accessing pixel coordinates, you should use the (row, column) or (y, x) order, not (x, y). This means the row (vertical) coordinate comes first, followed by the column (horizontal) coordinate.
Then, by the attribute shape we will get the dimension of the image and it will help us to know the (x,y) of pixels to access
Step 5: Print the attribute shape of the image readed

it should return the values:
(452, 420, 3)
you can remove this line later, then we know that the values for x, y :
x = [0-452]
y = [0-420]
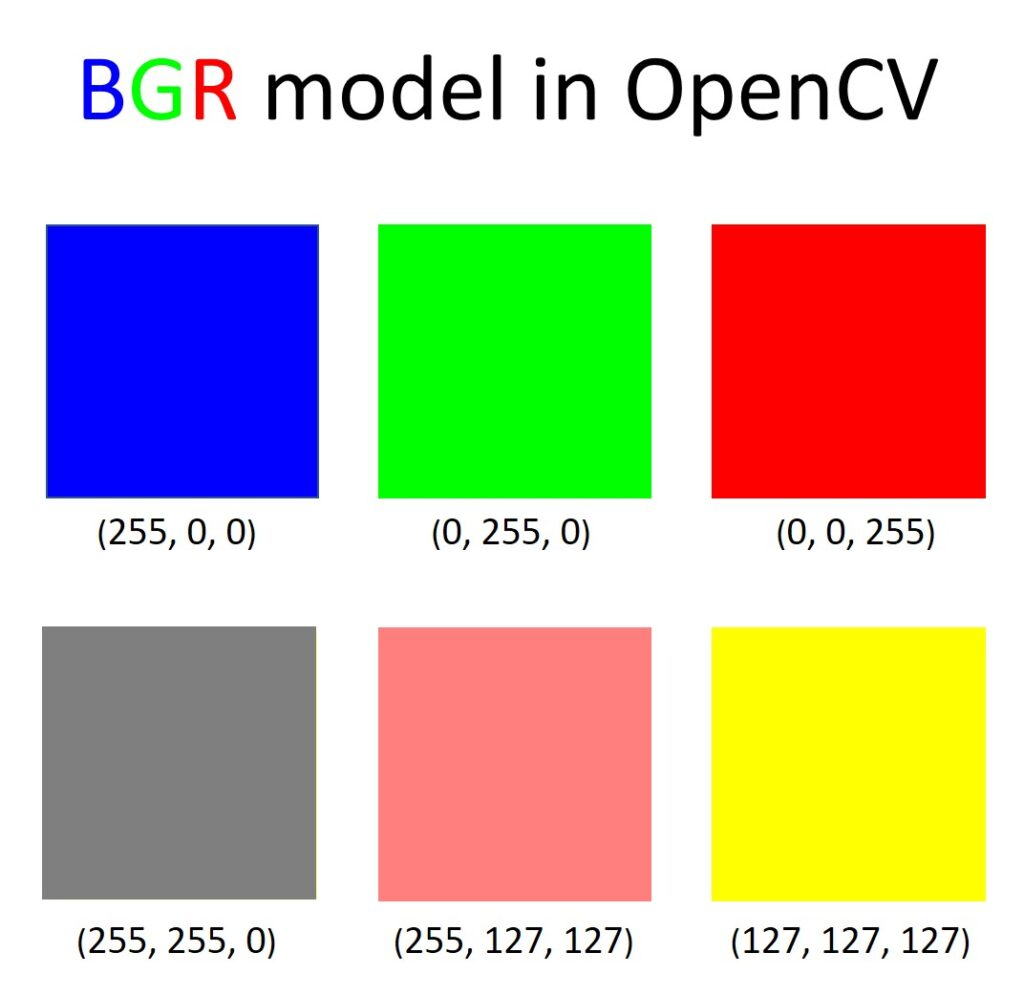
Step 6: You can access a pixel value by its row and column coordinates. For BGR image, it returns an array of Blue, Green, Red values. For grayscale image, just corresponding intensity is returned.
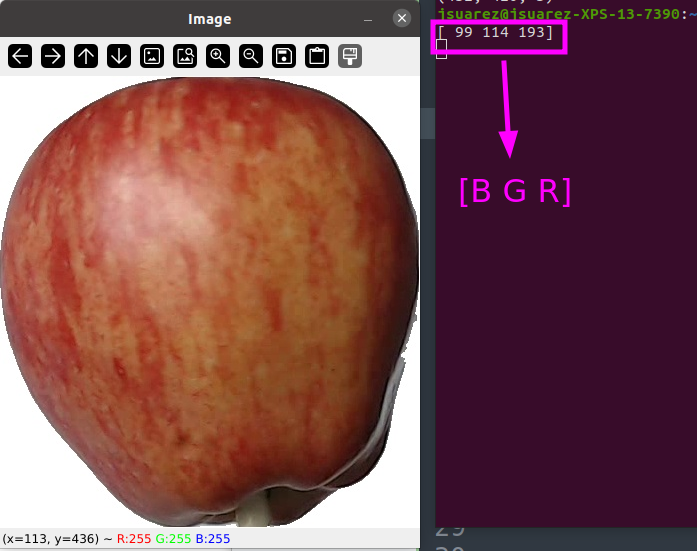
Access the pixel [100,100] and print the values, the code should be like this
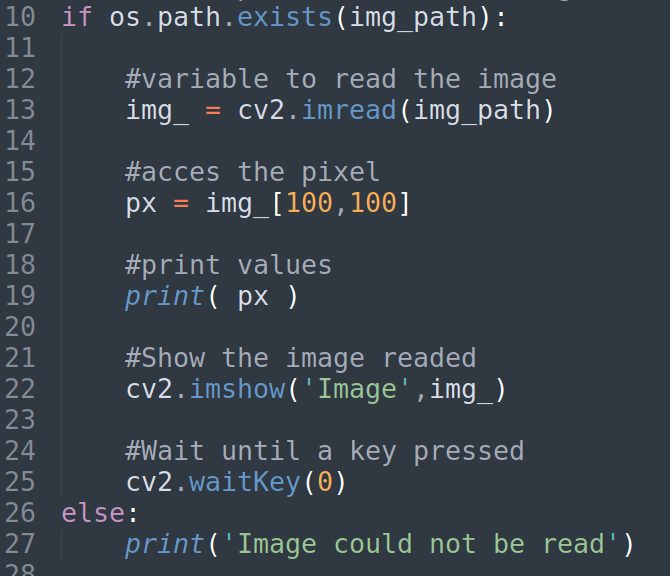
Save and run the script to get this:
Step 7: Now you can modify the pixel values the same way:
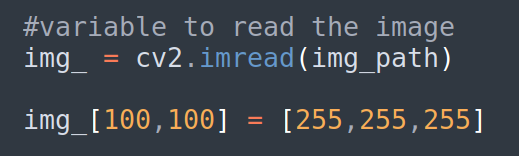
Remember:
The coordinate [100,100] = [y,x] = [row,column]
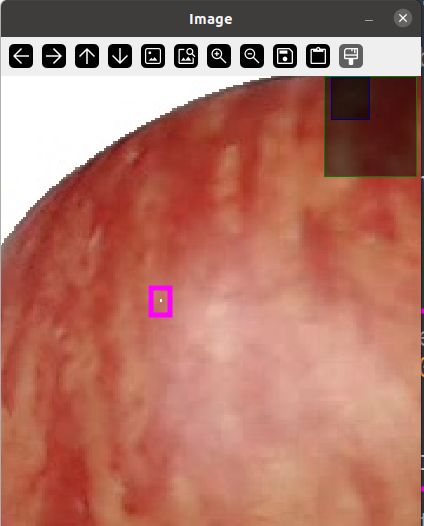
Save and run the script, zoom it and you should see the pixel modified
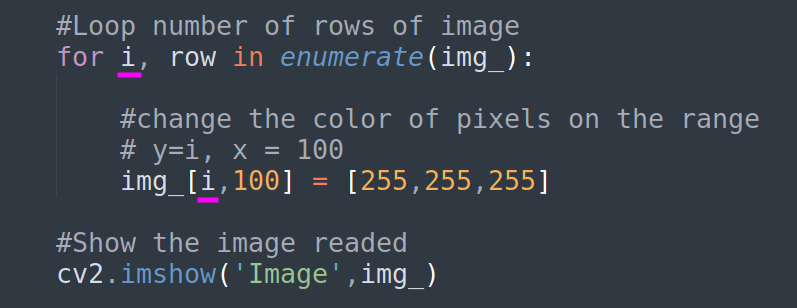
Step 8 : Now we will draw a vertical white line over the image, use the bucle for and change the color of every pixel on vertical axis (y) to white
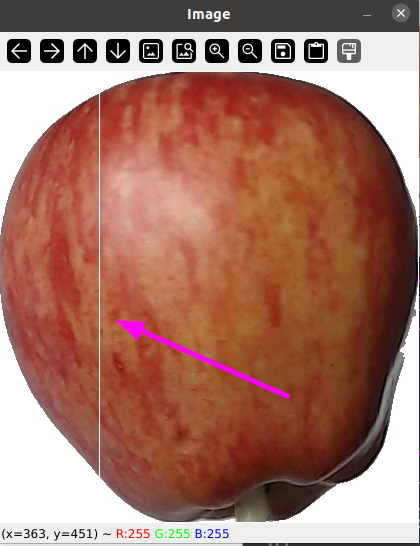
save and run the script, the result should be
Confirm that the final code ends like this:
#Import the library cv2
import cv2
import os

#Create the path variable
img_path = 'img/r0_0.jpg'

#This conditional load and show the image if exist
if os.path.exists(img_path):

	#variable to read the image
	img_ = cv2.imread(img_path)

	#Change the color of a pixel
	img_[100,100] = [255,255,255]

	#Loop number of rows of image
	for i, row in enumerate(img_):

		#change the color of pixels on the range
		# y=i, x = 100
		img_[i,100] = [255,255,255]

	#Show the image readed
	cv2.imshow('Image',img_)

	#Wait until a key pressed
	cv2.waitKey(0)

	#Close all the windows opened
	cv2.destroyAllWindows()
else:
	print('Image could not be read')
We will continue learn about how to manipulate pixels and ranges on next posts.
Comments are closed