Convert from BGR to RGB and Save it
In this post we will learn 2 interesting things, how to convert an image in different color channel and how to save it as a file in different format.
Color Space
The fundamental to how digital images are represented and processed in computer vision is the Color Space. While the RGB (Red, Green, Blue) is the most commonly used, OpenCV supports several other color spaces like HSV (Hue, Saturation, Value), LAB (Lightness, A, B), and YCrCb (Luminance, Chroma Red, Chroma Blue), each of them give unique advantages for different image processing tasks. Understanding these color spaces is essential for applications such as object detection, segmentation, color correction, and compression.
By default OpenCV, reads and processes color images in BGR (Blue-Green-Red) format rather than the more commonly used RGB (Red-Green-Blue) format used by most other computer vision libraries
Why we need changing Color Spaces
Different tasks require different representations of an image:
- Grayscale: Simplifies image analysis and reduces processing time.
- HSV (Hue, Saturation, Value): Useful for color-based segmentation and object tracking.
- LAB, YCrCb, RGB, etc.: Used in specialized applications like skin tone detection or advanced image enhancement.
Convert image from BGR to RGB
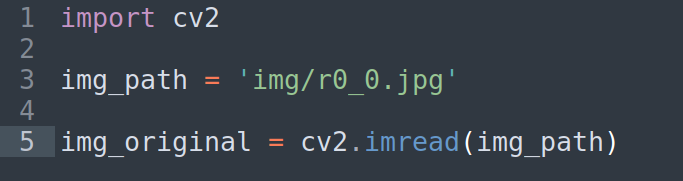
Step 1 : For this example we still use the image r0_0.jpg downloaded already, so create a new python file and add the lines below:
until this point , we should know what is happening on the lines above.
Step 3 : As I mentioned above, OpenCV reads images on BGR, to convert it to RGB, we will use the method cvtColor(), it is an OpenCV function that converts an image from one color space to another, this method supports over 150 color conversion methods, but mostly, only some of them are used frequently in real process.

Step 4: The last step is to show the image converted, wait for keypress and close the windows

Save the file and run it , the result should be like this
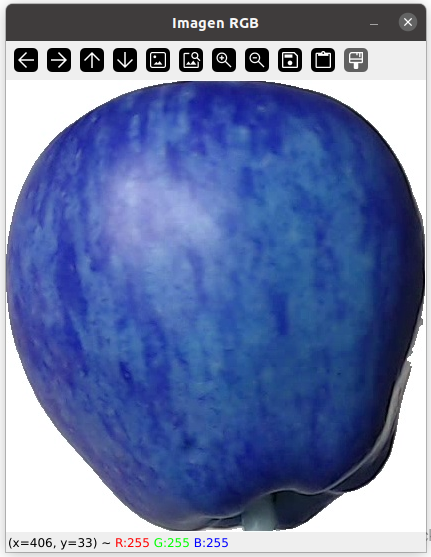
Press any key to close the windows above.
The next task is to save the image as a new image in the channel color RGB, for this action use the method imwrite(), this method saves the image to the specified file.
Step 5: Add the line below at the end of the code.

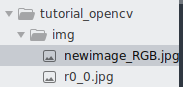
Save the file and run it , you should get a new file on the corresponding folder after the window is closed
The final code for this example should be like this
#Import the library cv2import cv2#Create the path variable
img_path = 'img/r0_0.jpg'#Create a variable to load the original image
img_original = cv2.imread(img_path)
#Convert the image from BGR to RGB
img_RGB = cv2.cvtColor(img_original,cv2.COLOR_BGR2RGB)
#Show the image converte to confirm changes
cv2.imshow('Imagen RGB', img_RGB)
#Wait until a key pressed
cv2.waitKey(0)
#Close all the windows opened
cv2.destroyAllWindows()
#Save it as new image on the folder img/
cv2.imwrite("img/newimage_RGB.jpg", img_RGB)
Common Conversion Codes
Let’s see some of the most commonly used OpenCV color conversion codes:
cv2.COLOR_BGR2GRAY BGR: Grayscale
cv2.COLOR_BGR2RGB BGR: RGB
cv2.COLOR_BGR2HSV BGR: HSV
cv2.COLOR_BGR2LAB BGR: LAB color space
cv2.COLOR_BGR2YCrCb BGR: YCrCb (used in compression & skin detection)
Real-World Applications
Different color spaces are required for specific CV process because they highlight some features of images better. This i a list of some real-world applications where we can use these conversions:
- Grayscale: Face detection, OCR (text recognition)
- HSV: Object tracking (e.g., detecting a colored ball)
- LAB: Color enhancement, skin tone detection
- YCrCb: Video compression, human skin detection
Comments are closed