How to add Borders for Images
if is required to add a border or effects on an image something like a photo frame, you can use cv2.copyMakeBorder().
This can be useful for various image processing tasks such as image padding, creating frames or preparing images for machine learning. This function have the follow arguments:
- src : input image
- top, bottom, left, right : border width in number of pixels in corresponding directions
- borderType : Flag defining what kind of border to be added. It can be following types:
- cv.BORDER_CONSTANT : Adds a constant colored border. The value should be given as next argument. Like this :
iiiiii|abcdefgh|iiiiiiiwith some specifiedi - cv.BORDER_REFLECT : Border will be mirror reflection of the border elements. Like this: fedcba|abcdefgh|hgfedcb
- cv.BORDER_REFLECT_101 or cv.BORDER_DEFAULT : Same as above, but with a slight change. Like this: gfedcb|abcdefgh|gfedcba
- cv.BORDER_REPLICATE : Last element is replicated throughout. Like this : aaaaaa|abcdefgh|hhhhhhh
- cv.BORDER_WRAP : Like this : cdefgh|abcdefgh|abcdefg
- cv.BORDER_CONSTANT : Adds a constant colored border. The value should be given as next argument. Like this :
- value : Color of border if border type is cv.BORDER_CONSTANT
Now will see how to use these borders by an example:
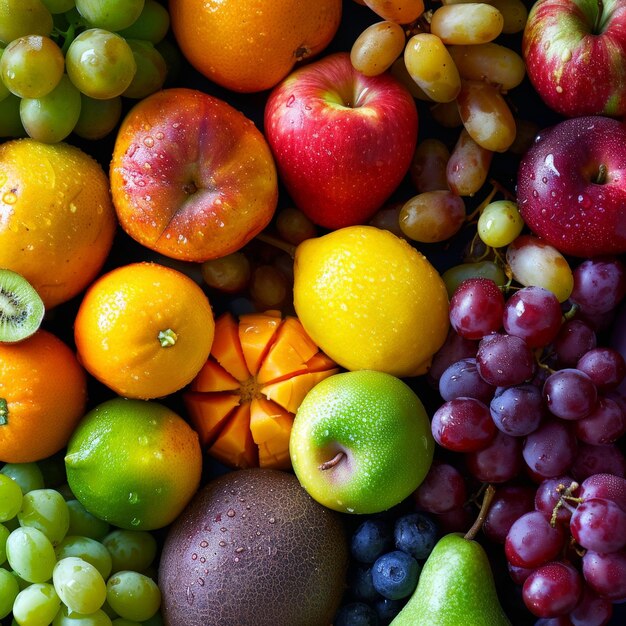
Step 1 : Download the image for this exercise
For this example we will use the assert keyword that lets us test if a condition in your code returns True, if not, the program will raise an AssertionError.
Step 2: Set the variable for the color border and create a variable for the image with the border applied, as below:

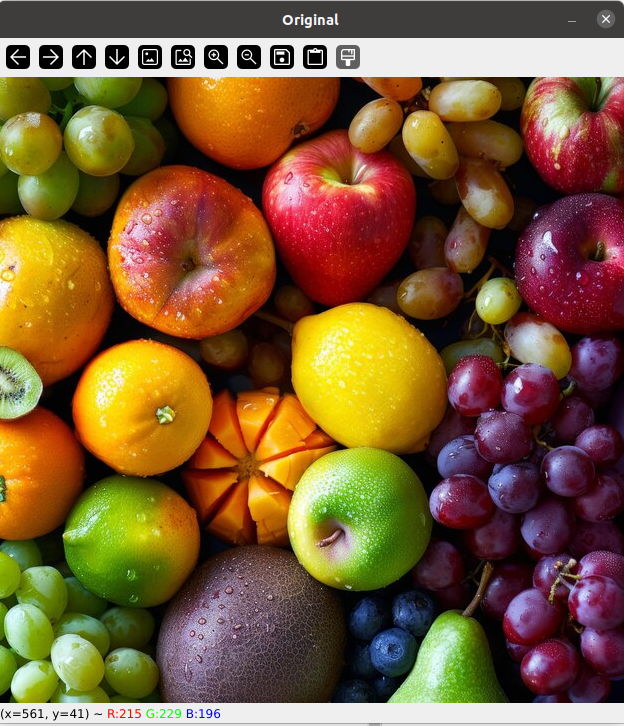
Step 3 : Load the image on a Windows as we did in previous examples
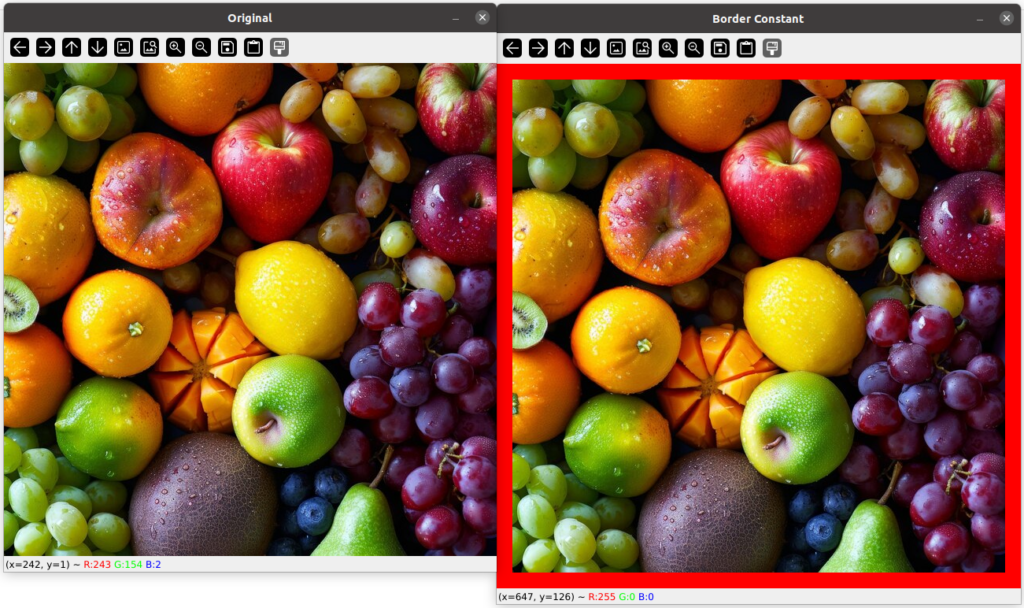
Save and run the script, the result should be like this
Step 4: Now we will use the Border_Reflect effect as the code below:

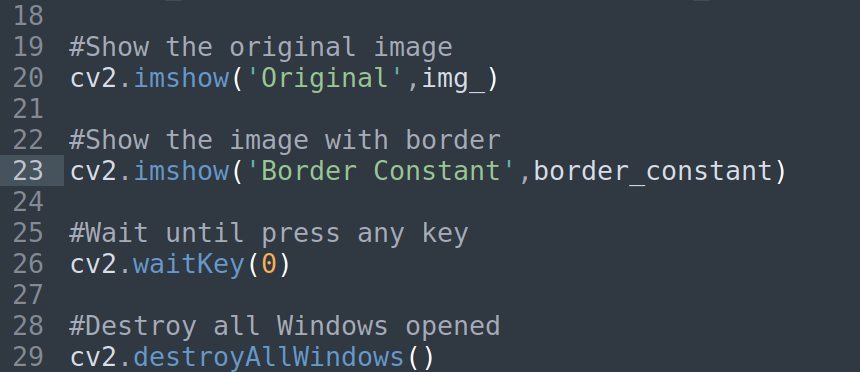
Step 5: Show the image with the border in a new window, as the code below:
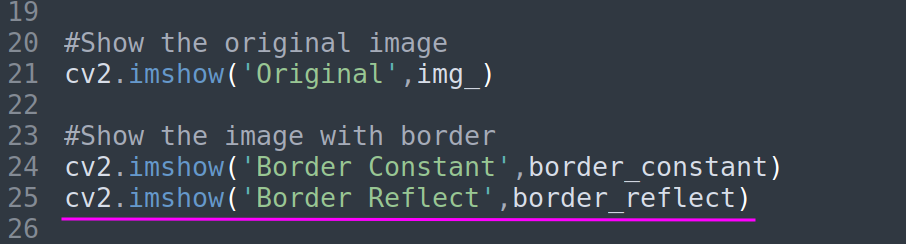
Save and run the script, the result should be like this:

As you can see the border is reflected on the left image, as expected.
comparing with the original image you will see the differences
To ends the exercise you can add the rest of the type of border and see the result.

The final code should be like this:
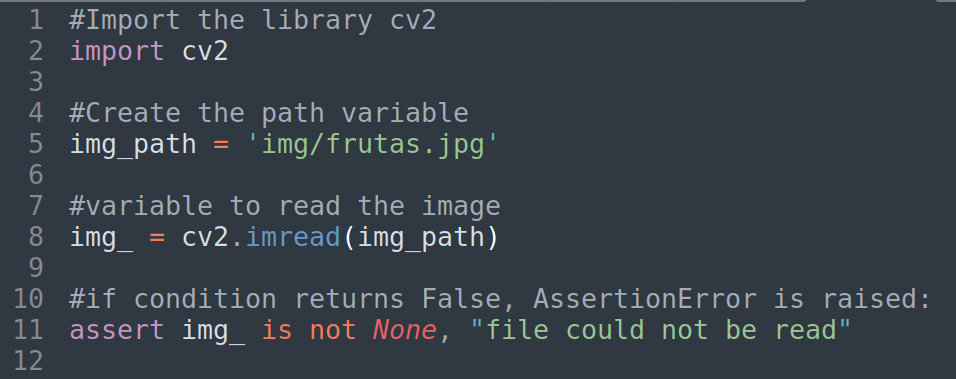
#Import the library cv2
import cv2

#Create the path variable
img_path = 'img/frutas.jpg'

#variable to read the image
img_ = cv2.imread(img_path)

#if condition returns False, AssertionError is raised:
assert img_ is not None, "file could not be read"

#array color [B,G,R]
RED = [0,0,255]

#applying border to image read
border_constant= cv2.copyMakeBorder(img_,20,20,20,20,cv2.BORDER_CONSTANT,value=RED)
border_reflect = cv2.copyMakeBorder(img_,20,20,20,20,cv2.BORDER_REFLECT)
border_replicate = cv2.copyMakeBorder(img_,20,20,20,20,cv2.BORDER_REPLICATE)
border_reflect101 = cv2.copyMakeBorder(img_,20,20,20,20,cv2.BORDER_REFLECT_101)
border_wrap = cv2.copyMakeBorder(img_,20,20,20,20,cv2.BORDER_WRAP)

#Show the original image
cv2.imshow('Original',img_)

#Show the image with border
cv2.imshow('Border Constant',border_constant)
cv2.imshow('Border Reflect',border_reflect)
cv2.imshow('Border Replicate',border_replicate)
cv2.imshow('Border Reflect 101',border_reflect101)
cv2.imshow('Border Wrap',border_wrap)

#Wait until press any key
cv2.waitKey(0)

#Destroy all Windows opened
cv2.destroyAllWindows()
This is the final day of this series of tutorial for beginners on OpenCV and Python, I hope it help you on your journey with this fantastic library.
Source Code of the Examples
You will find the script of the examples for this tutorial in my github repositorio
https://github.com/josesuarezcordova/opencv_python_beginners
I’ll appreciate your comments by email to jsuarez.developer@gmail.com
thanks!
Comments are closed