Region of Interest (ROI)
On this post we will learn how to grab a range of an image, image cropping is a fundamental operation in image processing that involves selecting a specific region of interest (ROI) from an image and discarding the rest. This technique is widely used in various applications, such as object detection, face recognition, and image enhancement
“A region of interest (ROI) is a portion of an image that you want to filter or operate on in some way.”
Source : https://www.mathworks.com/help/images/roi-based-processing.html
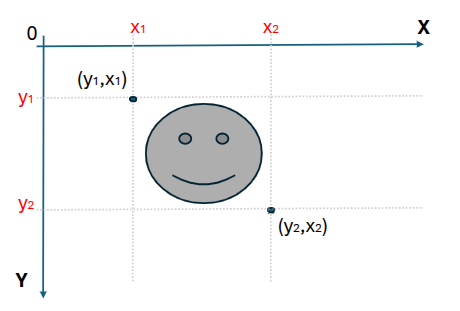
A region is defined with the coordinates:
[Y1:Y2, X1,X2]
as the image below , this is how OpenCV set region of interest of an images.
How it works?
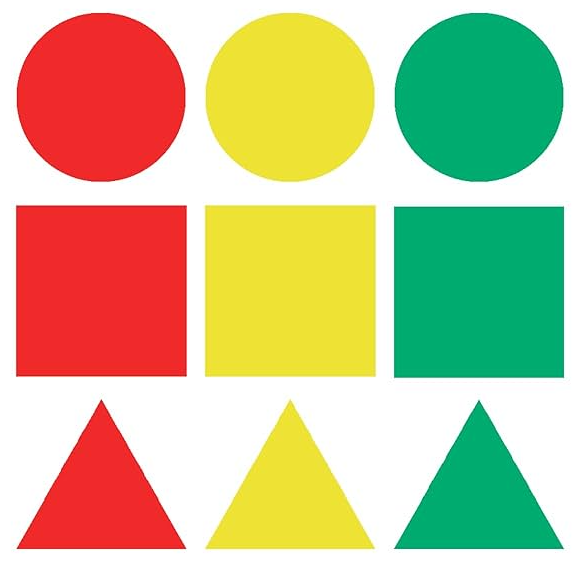
Will see how to use it in an easy example. For this example we will grab the red circle and save it as a new image file. Please download the image below and save it in the /img folder of your project
Step 1: Open a new python file, and proceed as usual, import the library, set the variable with the path of the image to proceed and load it if exist.
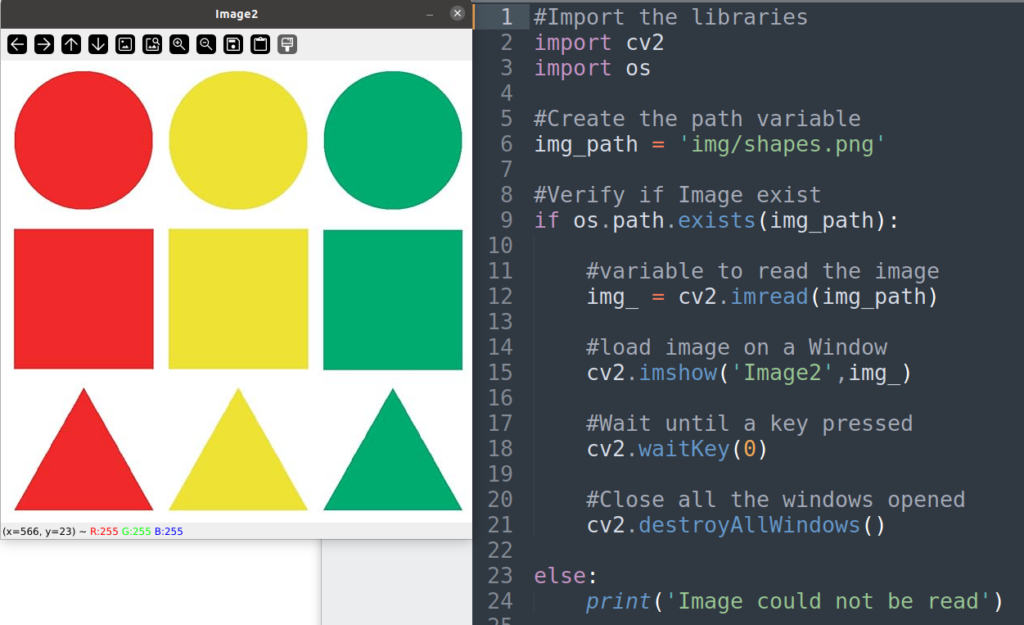
Until this point you should be able to understand what is happening on the code above.
Step 2: Could help us to know what is the dimension width,height of the image, so this command can help

For this case we get
(564, 576, 3)
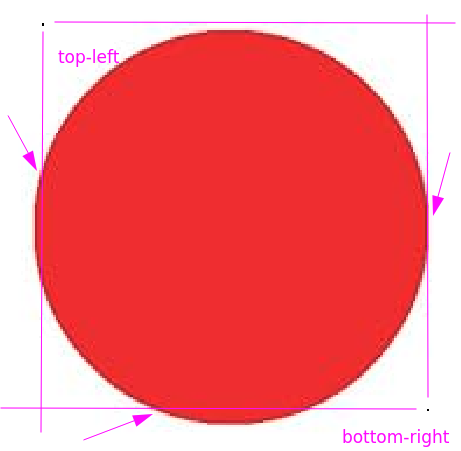
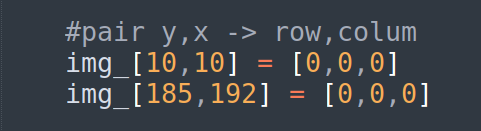
Step 3: As a good exercise we can change the color of 2 pixels , top-left corner and bottom-right corner then it will give us have an idea about the coordinates of the roi.
after few tries, these code can help, remember In OpenCV, when accessing pixel coordinates, you should use the (row, column) or (y, x) order, not (x, y). This means the row (vertical) coordinate comes first, followed by the column (horizontal) coordinate.
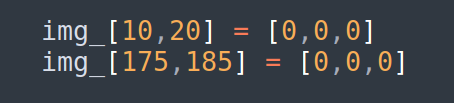
The result will return these 2 black points on the image below, but drawing straight lines we can see that the range should be a bit more bigger, ok will change the coordinates.
ok , after a change in the coordinate, we can get the right values for the range
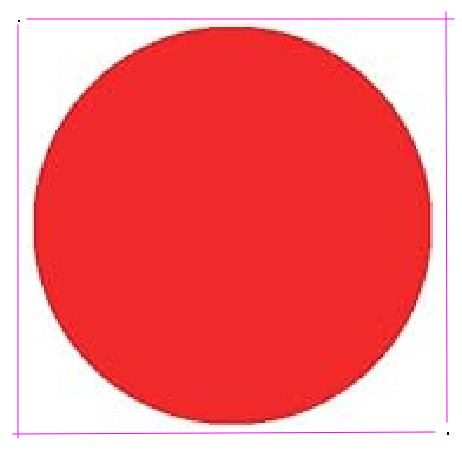
Step 4 : With this data we will define the coordinates for the range
Top-left = [y1=10, x1=10]
Bottom-right = [y2=185, x2=192]
Range = [y1:y2 , x1:x2] -> [10:185, 10:192]
Add this values in the correspond range and the result should be display only the red circle.
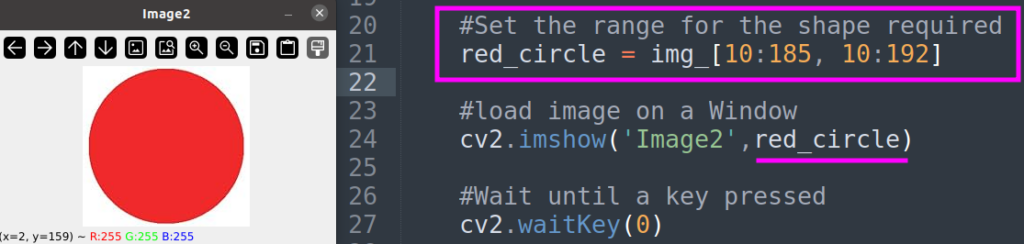
Step 5: as last step, save the image as red_circle.jpg

Finally the code should be like this
#Import the libraries
import cv2
import os

#Create the path variable
img_path = 'img/shapes.png'

#Verify if Image exist
if os.path.exists(img_path):

	#variable to read the image
	img_ = cv2.imread(img_path)

	#Set the range for the shape required
	red_circle = img_[10:185, 10:192]

	#load image on a Window
	cv2.imshow('Image2',red_circle)

	#Wait until a key pressed
	cv2.waitKey(0)

	#Close all the windows opened
	cv2.destroyAllWindows()

	#Save it as new image on the folder img/
	cv2.imwrite("img/red_circle.jpg", red_circle)

else:
	print('Image could not be read')
As homework you can continue extract the rest of the shapes, I invite you to try and let me know by email if you have any issues.
Good Luck!
Comments are closed